Andy Engel
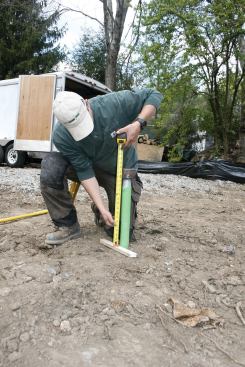
The height of the pile above grade is measured.
My deck company builds about 50 projects a year. That’s a lot of footings, especially when you hate digging footing holes and mixing up concrete as much as I do. Since I began building with helical piers, I’ve stopped wearing out shovels and posthole diggers. I no longer worry about the inspector arriving on schedule to look at my footing holes — or about watching them fill up with water if he doesn’t. And once a pier is installed, I know exactly how much weight it can support.
Steel Foundation
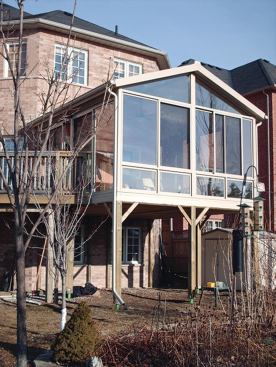
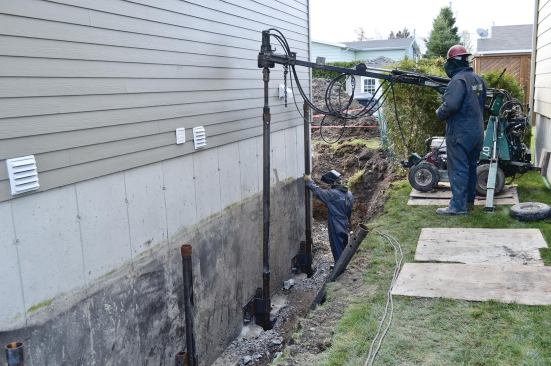
A helical pier is a manufactured steel foundation pin that is driven into the soil to a depth below frostline using hydraulic machinery. Helical piers are primarily used in heavy commercial work, but they’re also well-suited for backyard decks, additions, and foundation repairs.
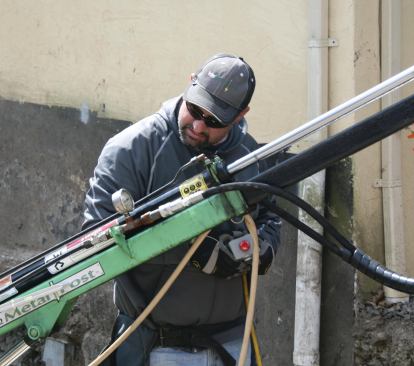
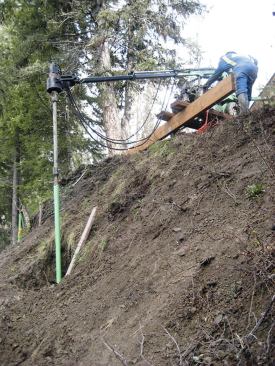
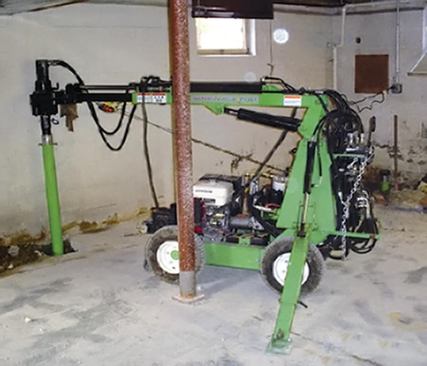
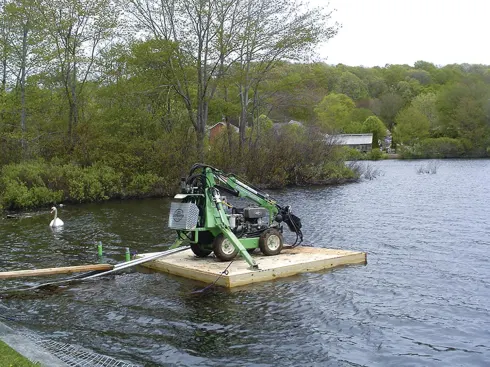
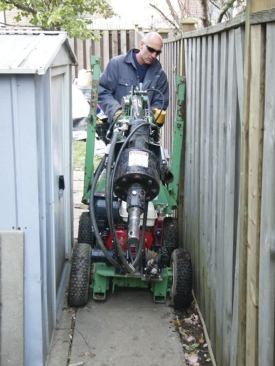
Two years ago, I bought a franchise with Techno Metal Post (see “Dealership” sidebar). Now a big part of my business volume comes from installing piers for other contractors. Most helical piers are driven with a skid-steer or excavator, but Techno Metal Post uses a proprietary machine that’s small enough to fit through a gate and go places larger machines can’t. I can actually drive the rig right onto an existing deck if I need to retrofit additional footings to support a new hot tub.
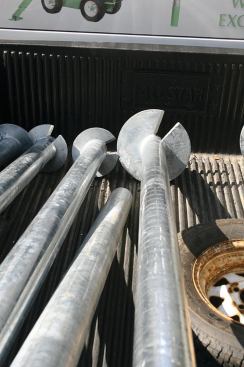
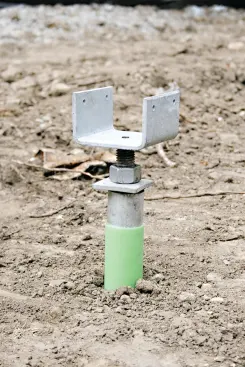
Typical piers have a 7-foot shaft with a helical bearing plate welded to the end and a cap on top that attaches to the framing. Most piers intended for residential use are hot-dipped galvanized steel. If the soil is particularly corrosive, sacrificial anodes (similar to those used to protect underground LPG tanks) can be added. In most commercial and industrial applications, however, the piers aren’t even galvanized.
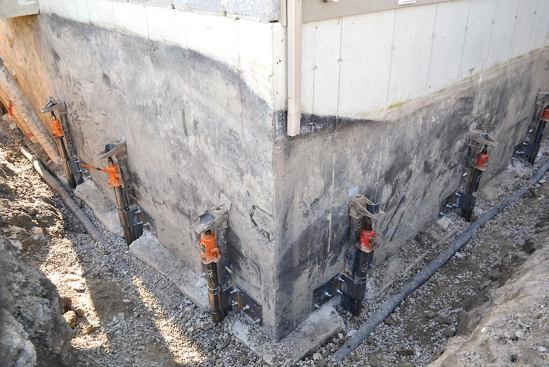
The diameter of the helix varies based on soil conditions. Generally, the installer selects a smaller helix for rocky soils and a larger one for marshy and clay soils. Once the pier is set, a variety of caps are available to tie the pier to the framing; some of them have a screw assembly that allows fine-tuning of the elevation.
Load-Testing a Pile
Load-testing a helical pile is far simpler than it sounds. The height of the pile above grade is measured. Next, a cap is inserted into the pile to protect its top. This cap is slammed five times with a sledgehammer, and the pile’s height is measured again. The sledge’s weight is specific to the size of the pile — a heavier hammer is used with bigger piles. The amount that the pile sinks indicates the soil bearing capacity, which an engineer will verify. The dynamic loading imposed by an impact load is surprisingly large and correlates to the static load a pile can handle.
Load-testing (instead of taking a torque reading) is used in several circumstances — such as when the pile bottoms out on a large rock or the soil is particularly slippery. With wet clay, for instance, the bearing capacity may be higher than torque readings would suggest because the soil is lubricating the helix and reducing the force required to turn it.
Bearing Capacity
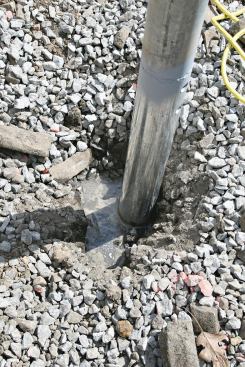
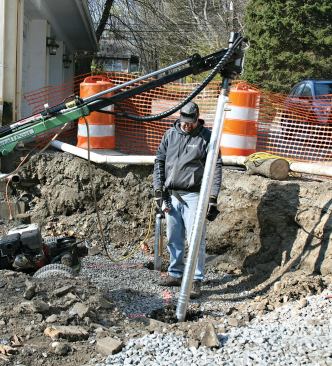
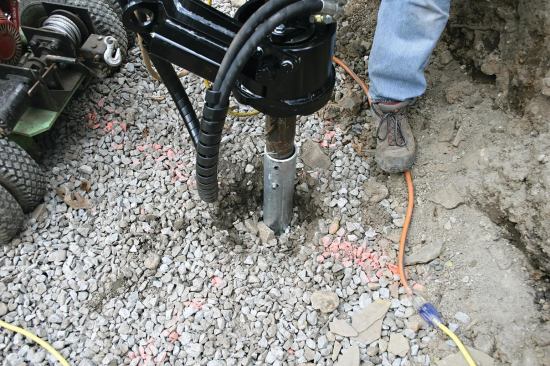
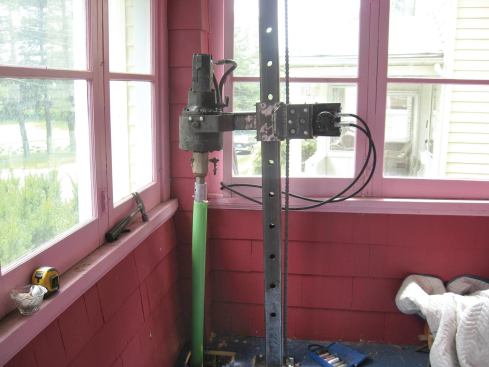
The load-bearing capacity of a helical pier usually relates to the amount of torque required to install it, a function of both the size of the helix and the soil’s bearing capacity. A pressure gauge on the installation machine reads the torque as the pier is rotated into the ground.
In weaker soil, the pier will be driven deeper to reach stronger soil. (If greater bearing or uplift capacity is required at shallower depths, the project engineer may specify multi-helix piers.) When the helix is below frostline and the pressure gauge hits a high enough number relative to the loading requirements of the structure, the installation is complete. To calculate the actual bearing capacity of the pier, the pressure reading is plugged into a formula called a torque correlation.
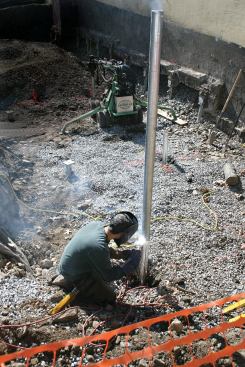
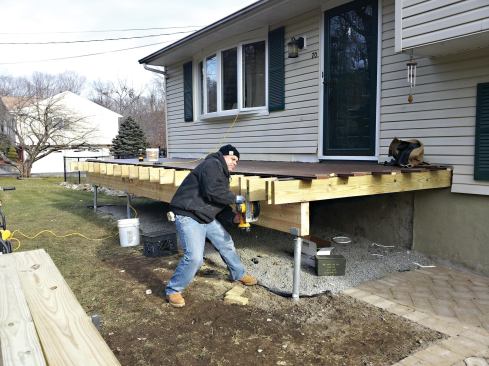
When poor soil conditions mandate going deeper than the standard 7-foot-long shaft, we weld on an extension. Sometimes all it takes is a foot more depth to go from terrible soil to firm material. This is particularly relevant if we’re building a freestanding deck where the piers close to the house might start out in backfill. If we were excavating to install a conventional concrete footing, we’d have to dig down to virgin ground at the house foundation level — as much as 7 feet or 8 feet if the house had a basement. It’s far easier to drive a helical pier to this depth.
Also, with a traditional footing, you never really know what lurks an inch below the bottom of your footing excavation. Now that I am in the helical-pier business, I frequently see situations where seemingly good soil turns to mush inches below where I typically would have installed the footing.
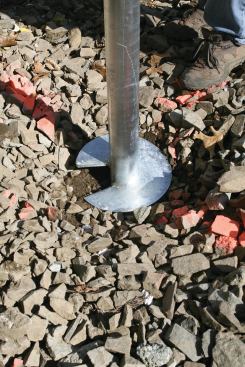
Rocks. Normally, we just power through loose rock basketball-size and smaller. The installation machine generates sufficient torque for the helix to push rocks out of the way as it turns. Sometimes, the installer can actually steer the helix around a rock, then use the machine’s boom to pull the pier back into plumb.
If we hit a large rock below frostline, the pile is parked on top of the rock and load-tested (see “Load-Testing” sidebar, right). Assuming it passes the load test — it usually does — we can be confident the pier will never move. If it doesn’t pass the load test, the pier will have to be installed in a different spot. On critical jobs, a soil test has often been done before we get there so we’ll know where there’s ledge or bedrock.
When we encounter a large rock above frostline, it can be drilled and the pier’s shaft pinned to the rock. Occasionally, however, there is so much rock on the job helical piers just won’t work. There are some locations where I don’t even bother trying to install them because every lot on the street was blasted out of bedrock.
In average soil, driving a helical pier takes about 10 minutes, after which it’s ready to build on. A P2 pier with a 2 5/8-inch-diameter shaft — the smallest pier I install — will support a 6,800-pound load. A concrete pier would need to be bigger than 16 inches in diameter in verified 4,000-psi soil to achieve the same capacity. Because of the higher bearing capacity, most projects require fewer piers, although larger beams may be needed for the greater spans.