Styrofoam insulation is a staple in many construction projects due to its excellent thermal performance and moisture resistance. As a contractor, you know that proper installation is key to ensuring these benefits are realized.
Here are five critical installation considerations.
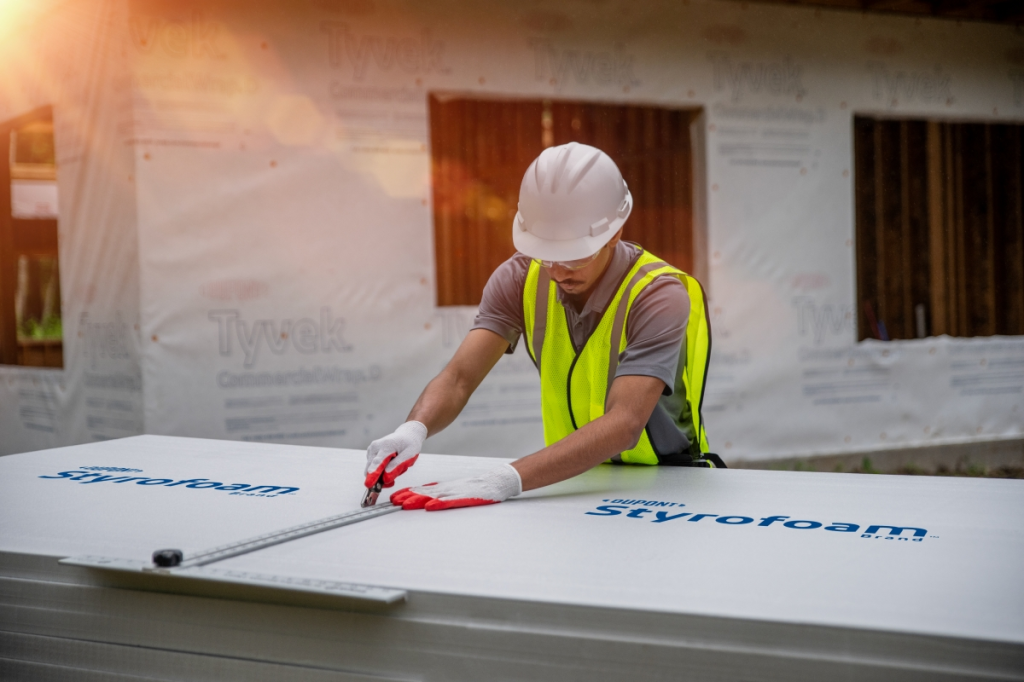
1. Making the Cuts
XPS insulation boards are relatively easy to cut, and you can achieve clean, precise cuts with the right tools.
For straight cuts, use a sharp utility knife and score the foam before snapping it along the line. For more complex cuts, such as around windows or curved surfaces, an oscillating tool or hot wire cutter will give you smoother edges.
2. Effective Fastening
When attaching XPS insulation to framing or sheathing, using the right fasteners and fastening pattern is critical. For most applications, plastic cap nails work well since they help distribute pressure evenly. It’s recommended to use 1” diameter plastic cap nails for secure attachment. The fasteners should be sufficient length to penetrate a minimum of 3/4″ into the framing.
3. Windows: Recessed vs. Bump-Out
When installing XPS insulation around windows, you’ll need to adapt your approach based on the type of window you’re working with. For recessed windows, trim the foam carefully around the frame to avoid gaps, ensuring a tight fit that minimizes heat loss and air infiltration. For bump-out windows, the foam should be shaped to accommodate the frame’s protrusion.
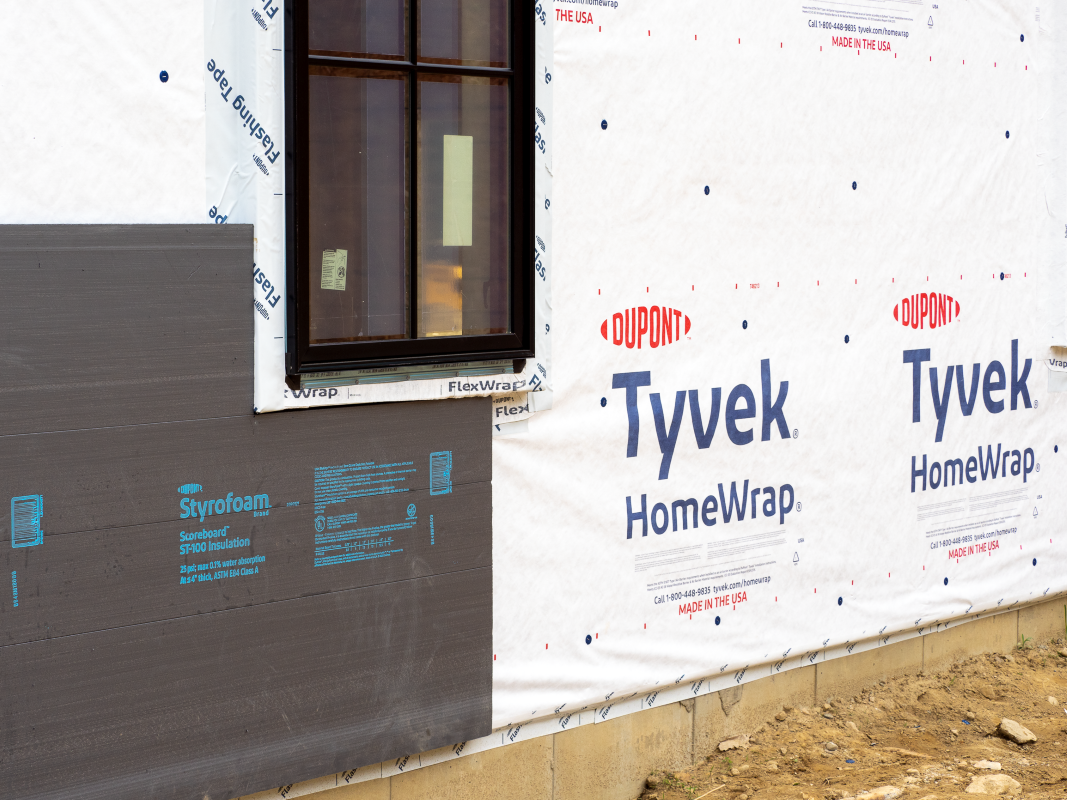
4. CI: Under or Over?
Should continuous insulation go over or under your primary WRB? The answer: Both options work and sometimes it comes down to preference.
When the WRB is over foam, there are no additional penetrations through the WRB from the insulation installation. When the WRB is under foam, the foam helps to protect the WRB from UV exposure and other job site damage ahead of cladding installation.
Considering whether your windows are recessed or bumped out and if windows are installed before or after WRB may help guide your decision.
5. Adding the Cladding
Attaching cladding over foam can seem tricky at first, but there are a variety of options depending on cladding type.
Some claddings work properly when simply fastened through the insulation into the framing member min 3/4″, so all you need is a longer fastener than before. Heavier claddings may need to be installed into a nail base layer that’s over top of the Styrofoam.
It’s all about long-term performance.
By following these five tips—cutting with precision, properly fastening, understanding window installation needs, choosing installation over or under the WRB, and properly securing the cladding—you’ll ensure that the Styrofoam Brand XPS insulation performs at its best. These practices help result in energy-efficient, durable installations that meet your building’s needs and your clients’ expectations.
Want more tips & tricks? Looking to quality for Energy Star? Need CI?
DuPont is offering a FREE custom UA analysis to builders. No charge. No obligation.